PSE & full PS B&W Cream action...
Are you tired of dull gray b&w conversions or conversions that are too blue? Well this action may help you. I personally do not care for gray b&w's most of the time & I truly dislike blue b&w conversions. This action is a simple action with only 3 layers. This action will give you a clean, bright white b&w. Yet it will keep the details in your darks without washing them out. It will lift the darks yet keep them rich. This works great on darker images, or subjects with darker hair. It will lift the highlights in the darker hair giving nice detail while still keeping the richness in the hair. This is now my go to b&w conversion.
Since I recorded this with PSE in mind, it is not a set but a single action and it will not group the layers in a folder since PSE does not have folders. If you are using full PS and really want the folder, start recording a new action, then hit play on this action in your layers panel (you will have to keep the original in your panel for this to work) then once my action runs, select all the layers from my action, hit ctrl/g to group the layers into the folder and stop recording. Now you'll have an action that does my steps but groups them into a folder. I'm a folder freak, so it may be worth the time to do if you are an odd ball like me! Lol!
Here are some examples.
Nugget after eating strawberries this morning. Yes, I leave the food on the faces of my girls. I like to keep it real! Lol!
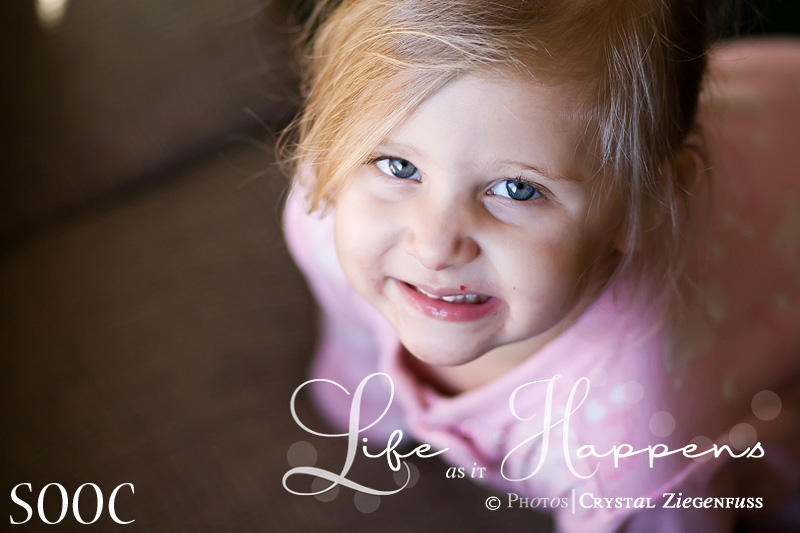
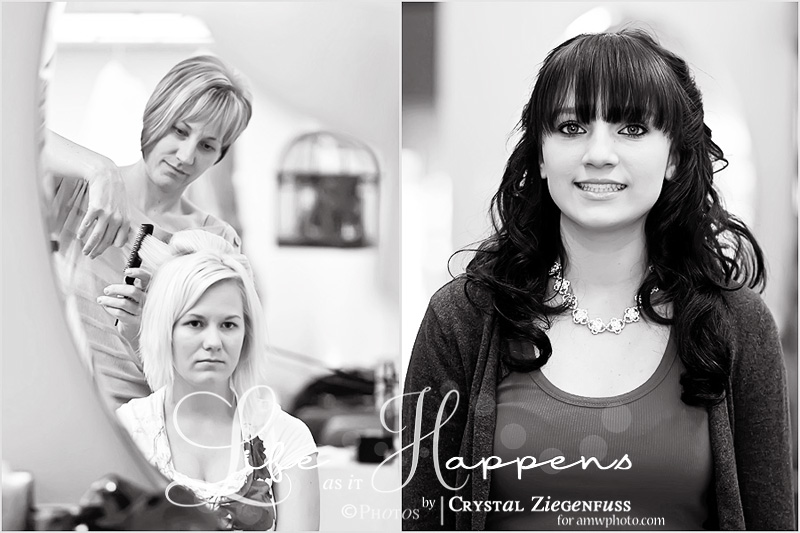
And here is after the conversion and tweaking the layers...

Here is another example. Obviously this is not SOOC. But it also shows you that you can run this on an already edited image and still get a great result...

I did mask the lighten layer at 50% opacity out of the image on the left because it was already pretty bright....
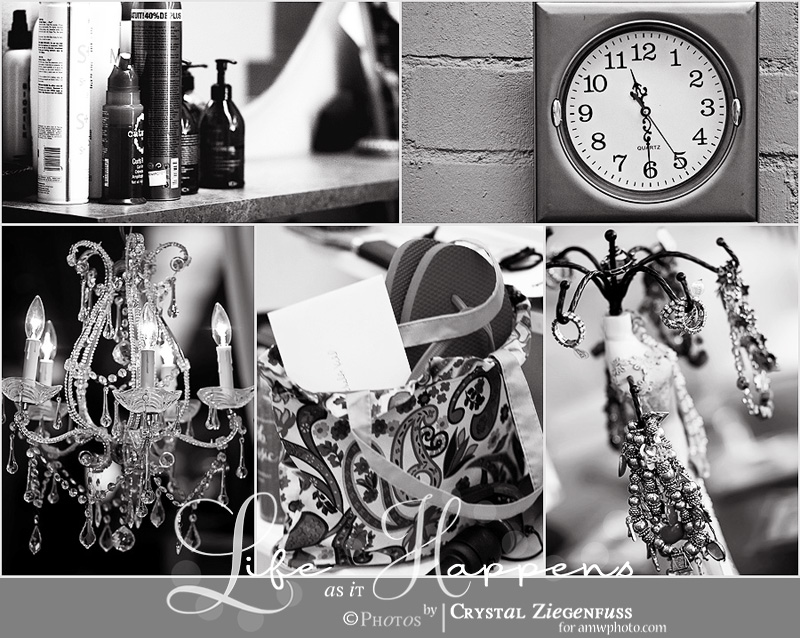
Some detail shots that I edited... {oops, forgot to resize}

the action with the layers tweaked just a little...
A few options that are fun to try with this actions is...
*For a nice creamy bright color edit, run the action and turn off the b&w layer
**Lower the b&w layer for a creamy fadded look
***For a deeper rich more urban creamy look, change the blend mode of the b&w layer to soft layer and play with layer opacity....lowering it to around 30% or lower usually
**** For a brighter more washed out creamy look, change the blend mode of the b&w layer to screen and lower the opacity also to around 30% or so.
*****And of course with any action, play with all the layers until you have the desired look. Make sure to play with the Lighten layer if it's too bright, or raise it if it's still too dark and if the cream is too much, lower the opacity!
So give it a try and tell me what you think! Download the zipped file HERE! I included the atn, png & psd so that it can be used in all PSE versions. If you have any questions, please let me know.

19 comments:
Thank you so much! It looks lovely. :) Can't wait to try it out (lurker at Two Peas).
i'm a lurker, too! thanks for sharing! it looks dreamy!
Thanks for sharing.
Kristi C
thanks for sharing, this action looks great! Can't wait to try it!
Looks fantastic but I have a problem. :( I just downloaded it and installed it, but when I tried to apply it was given the error that is was NOT compatible with PSE? It is supposed to be compatible with PSE right? I have PSE 7. Thanks!
Thank so much! Can't wait to try it out.
Did you also install the png in the proper folder? All layers that were used for the action are also in PSE, I didn't add layer masks or group in a folder! Hmm...any others load it in PSE yet? I have PSE but was lazy and didn't test it first...ugh! Lol! Let me know how you installed it and I'll test it in PSE7 as well!
Woohoo - I got it to work! For some reason when I install actions it creates two thumbnails and one works and the other one does not. I clicked on the defunct one first, but just tried the other and it worked beautifully! Thanks again for sharing!
Oh good Mindy. I did read on Rita's Coffee Shop through one of the links there that that can happen. Glad you got it figured out and I hope you enjoy the action! :O)
Thank you, this action looks perfect. :0)
Thanks!!!! beautiful conversion
Thanks for sharing!! Great photos BTW
I LOVE them! As always you are so awesome! Thank you so much for sharing! You rock! :)
Downloaded this today & can't stop playing with it-thanks for the action set!
I have PSE 8 and am not sure where to install these files in order to use them.
Thanks! Can't wait to try it out!
Steph/myliesmom
Thank you for sharing. I love your actions.
For some reason though the B&W ones don't change my pic to B&W. The action runs and makes adjustments but in color. I have all layer turned on. Is there something I'm doing wrong?
I'm not really sure! I haven't heard that problem yet. There should be a b/w gradient map layer that converts it to b/w. Maybe reload the action, or even re-download and load them again. Sometimes things go wonky in the download or loading process! Hope it works! :O)
I figured it out, I just had to move the black and white layer above the background picture. These actions are lovely. Thanks again for sharing!
Post a Comment